Step 1: Let’s begin by clicking here. Make sure you are logged in to your Google account
Step 2: Click on Google API Console

Step 3: From the right navigation click on Credentials

Step 4: Click on Create Credentials >> OAuth client ID >> Web application

Step 5: Now configure your API client.
- Application Type: Web application
- Name: Your app name
- Authorized JavaScript origins:
- http://localhost:3000
- http://localhost
- https://yourdomain.com
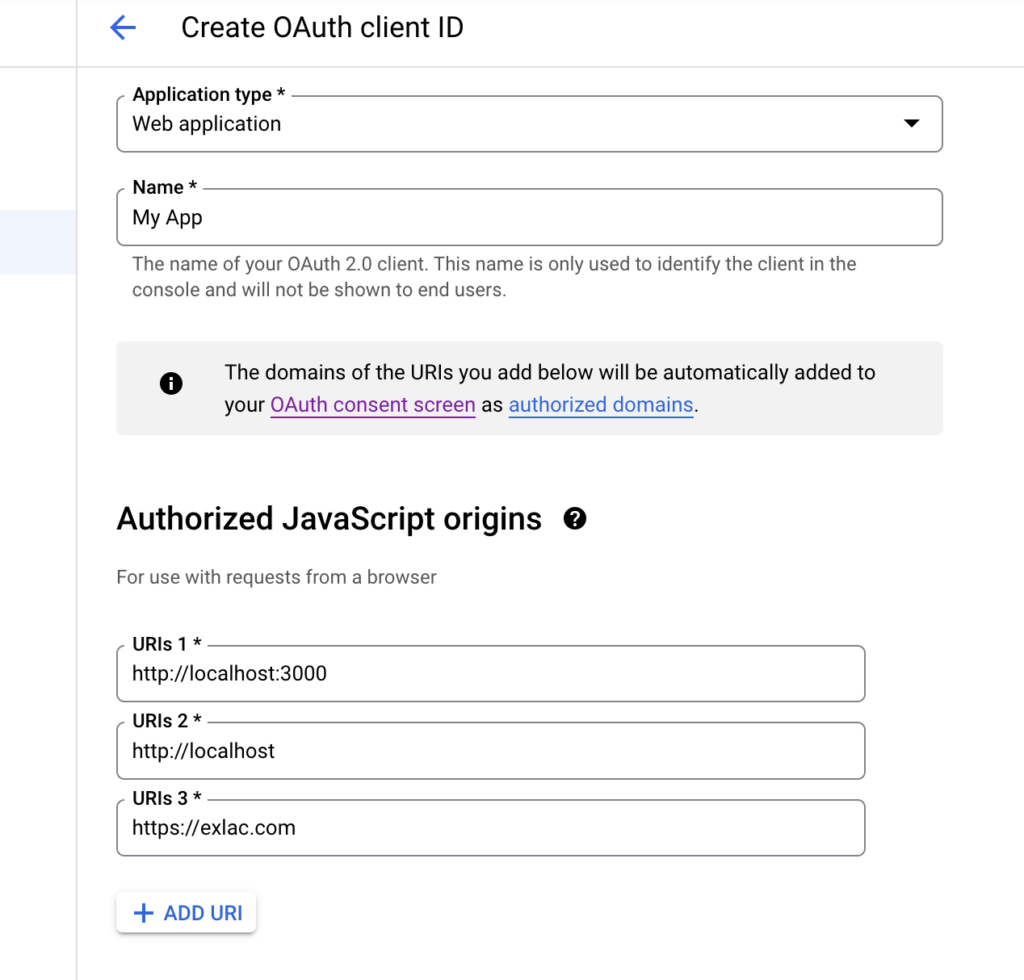
- Authorized redirect URIs:
- http://localhost:3000
- https://yourdomain.com
And finally, click on Create button

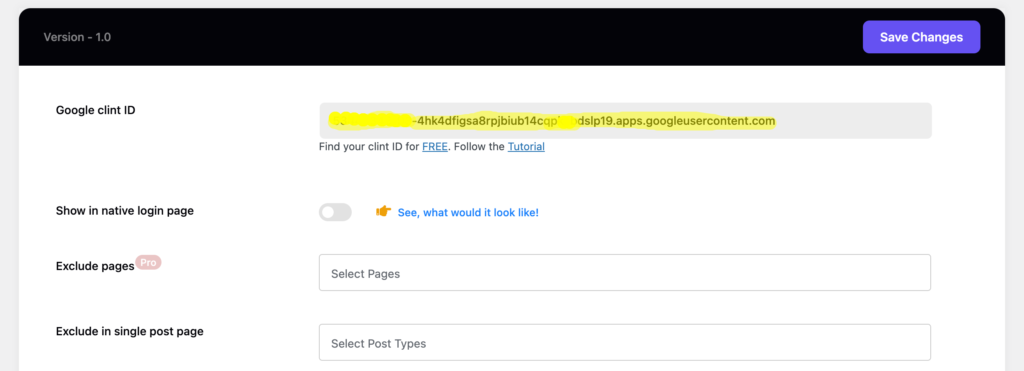
Once your API is created you are good to go. It may ask you for scope, you just select the default option and continue to create. You can find your client ID on the Credentials screen.

Step 6: Copy the client ID and navigate to your WP admin >> oneTap. Paste the copied ID in the respective field.
Test your configuration: Logout from your website and visit any our your pages and make sure you are logged in. Google One Tap is not working in the browser’s incognito window.
Note: For user registration, make sure you have enabled “Anyone can register” from wp-admin >> Settings >> General